Inspect The Loose Fastener And Surrounding Joint
Before removing a loose bolt, follow the machine procedure and make the machine safe. Look for a gap between the shoe and link, fretting or bright movement marks, damaged threads, stretched or necked bolts, rounded heads, damaged nuts, and rust or dirt between the mating surfaces. Inspect the bolt hole for elongation and the shoe seat for cracks or deformation. Record whether the shoe has shifted relative to its neighbors.
Inspect nearby bolts and the opposite track for the same pattern. Several loose fasteners can indicate incorrect installation, contaminated mating surfaces, worn hardware, a damaged shoe or link, or an application that is overloading the joint. A loose bolt may be the symptom rather than the entire repair. Ask the shop to identify what must be replaced and what can be reused.
Match The Hardware To The Application
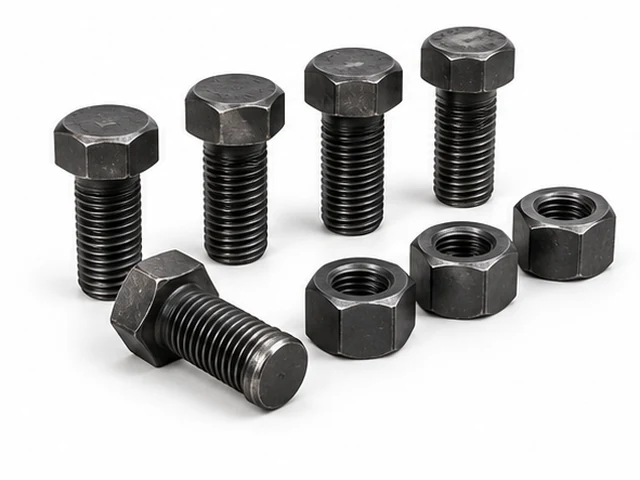
Use the exact parts information for the shoe and chain when selecting bolts and nuts. Thread diameter, pitch, length, head style, strength class, nut design, washer requirements, and seating geometry can all matter. A general-purpose bolt that passes through the hole is not a confirmed replacement. Ask the supplier to state the hardware reference and quantity in the quote.
Do not copy a torque value from another dozer, another bolt grade, or an online discussion. The correct tightening sequence, torque, angle, lubrication, and reuse rule come from the service information for the actual machine and fastener. If the procedure calls for new hardware, include it even when a removed bolt appears usable. Keep any uncertainty visible until the technician or supplier resolves it.
Decide Whether The Shoe Can Be Reused
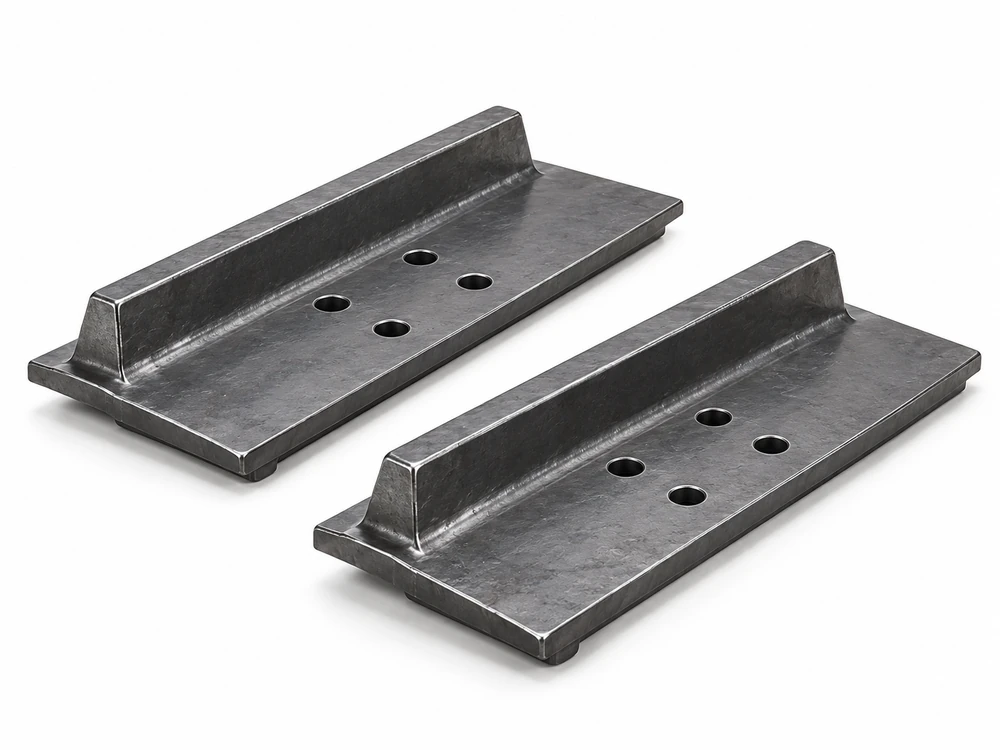
A sound shoe can sometimes remain in service when the plate, grouser, bolt holes, seats, and chain contact surfaces are within the applicable condition limits. A bent, cracked, badly worn, or elongated shoe may not hold a new fastener correctly. Check grouser wear and the condition of adjacent shoes, not only the one with the loose bolt. Record the width and style when comparing new shoes or assembled track groups.
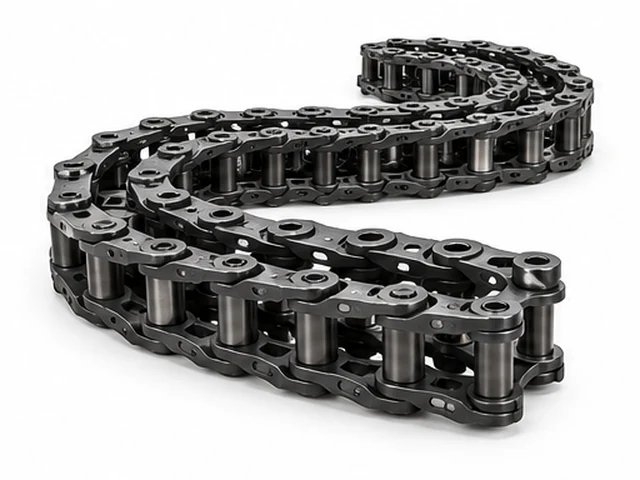
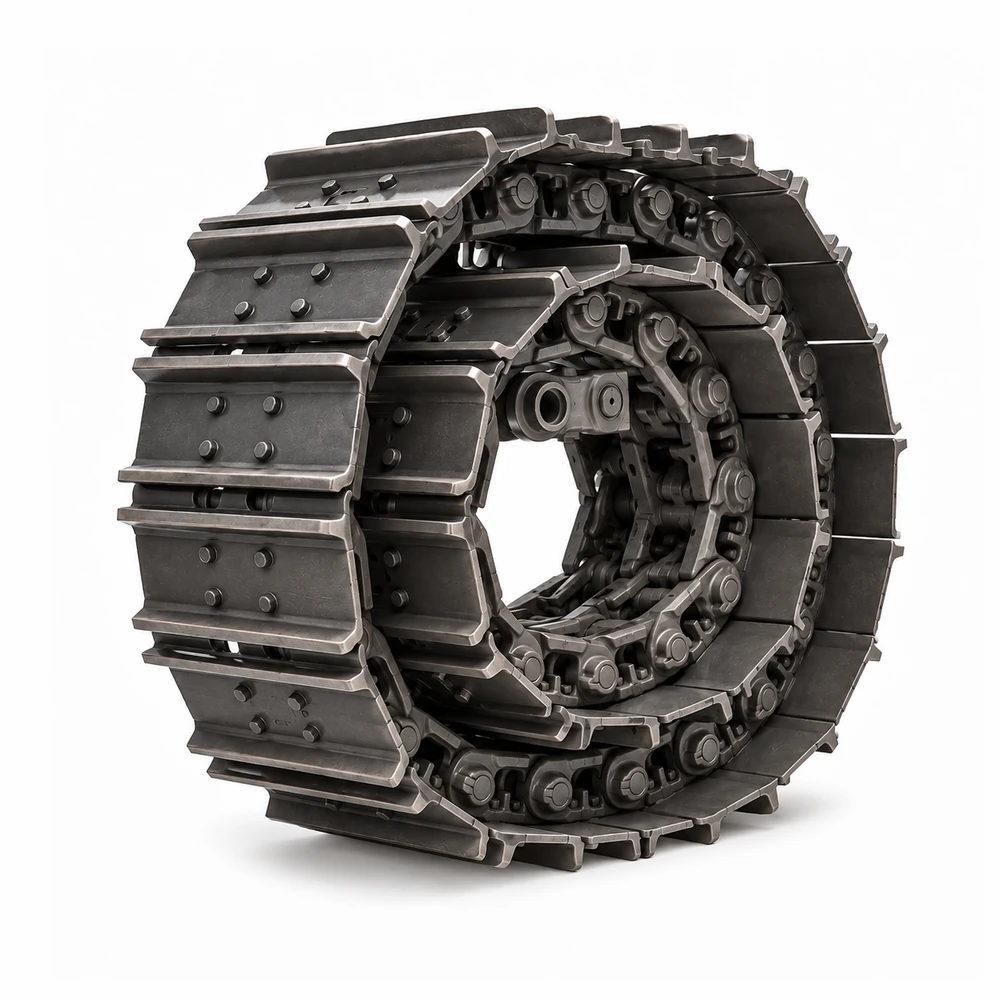
If the chain also needs replacement, compare loose chains plus shoe-transfer labor with assembled track groups. The quote should identify new bolts and nuts in either option. Transferring old hardware may not be appropriate, and the shop may need extra time for seized bolts or damaged seats. Compare the finished repair rather than the price of the bare chain or a box of bolts.
Build A Complete Shoe-Bolt Parts Request
Send the machine identity, current shoe and chain details, photographs, side and position, quantity, and the reason for replacement. Add the technician’s findings about holes, seats, links, grousers, and neighboring fasteners. Include the delivery ZIP code, destination type, unloading details, needed-by date, and whether the machine is down. List related shoes, chain sections, hardware, or mounting repairs as separate lines.
Request fitment confirmation and an itemized quote. Ask what the hardware includes, whether the quote covers bolts and nuts or only one piece, and whether any parts are supplied with the shoe or track group. Confirm availability and dispatch for the full quantity. Before installation, have qualified personnel follow the correct service procedure, inspect the joint after tightening, and record the work in the machine file.
Technical Sources And Next Steps
This guide provides general parts-planning information. Wear limits, tightening values, lifting procedures, and service steps must come from the operator, parts, and service information for the exact machine.