Measure The Chain, Rail, Pins, And Bushings
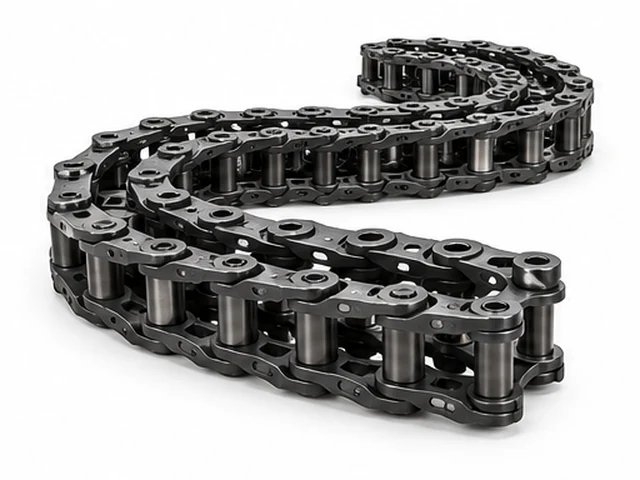
Chain measurements commonly include rail or link height, pitch extension, bushing outside diameter, and pin or bushing condition. Follow the manufacturer’s procedure for the exact chain. A worn joint can make a casual pin-to-pin measurement misleading, and the measuring span or tool position can change the result. Take several readings on each side and record where they were taken.
Look for cracked links, loose or dry joints, failed seals, scalloping, side wear, and an uneven or snaky track. Measure the bushing where the inspection method identifies the principal wear surface. Do not use a number copied from a different dozer as a service limit. When the chain is near its limit, inspect sprocket engagement and shoe mounting before choosing between joint repair, a loose replacement chain, or assembled track groups.
Measure Rollers, Idlers, Sprockets, And Shoes
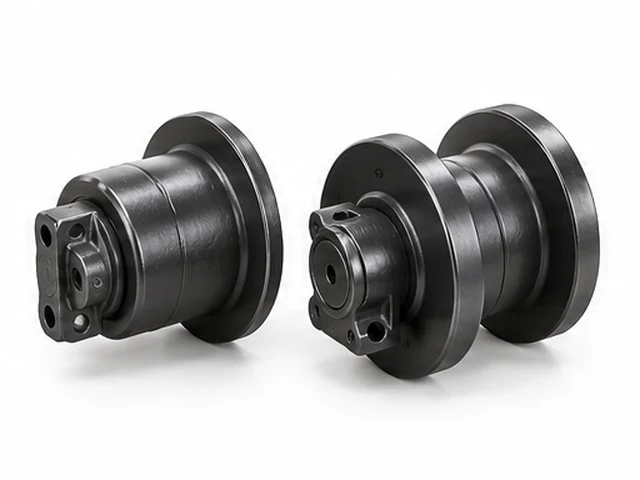
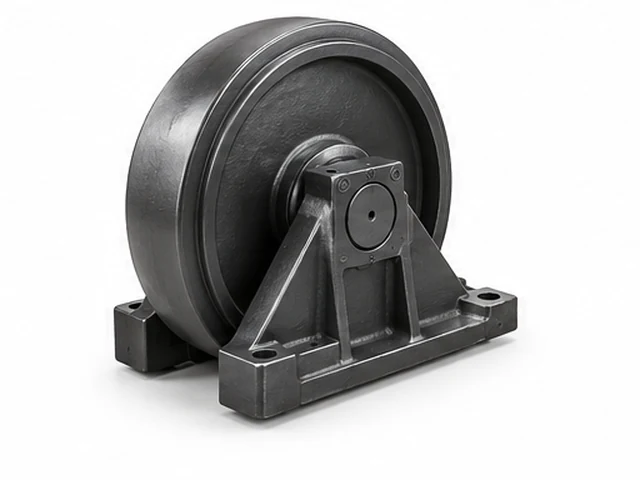
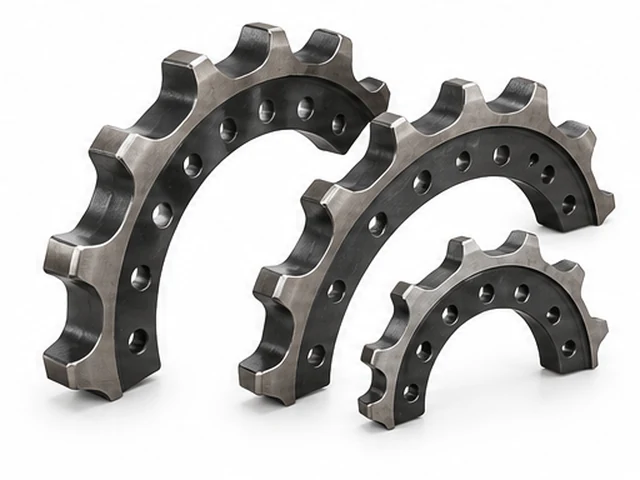
Use the approved tool and reference point for bottom rollers and carrier rollers. Record tread diameter, flange condition, flat spots, leakage, and free rotation. For front idlers, inspect tread, flange, guide contact, leakage, and side play. Sprocket wear may be judged by a gauge, profile comparison, or the manufacturer’s stated inspection method. Record whether the drive uses segments or a complete sprocket.
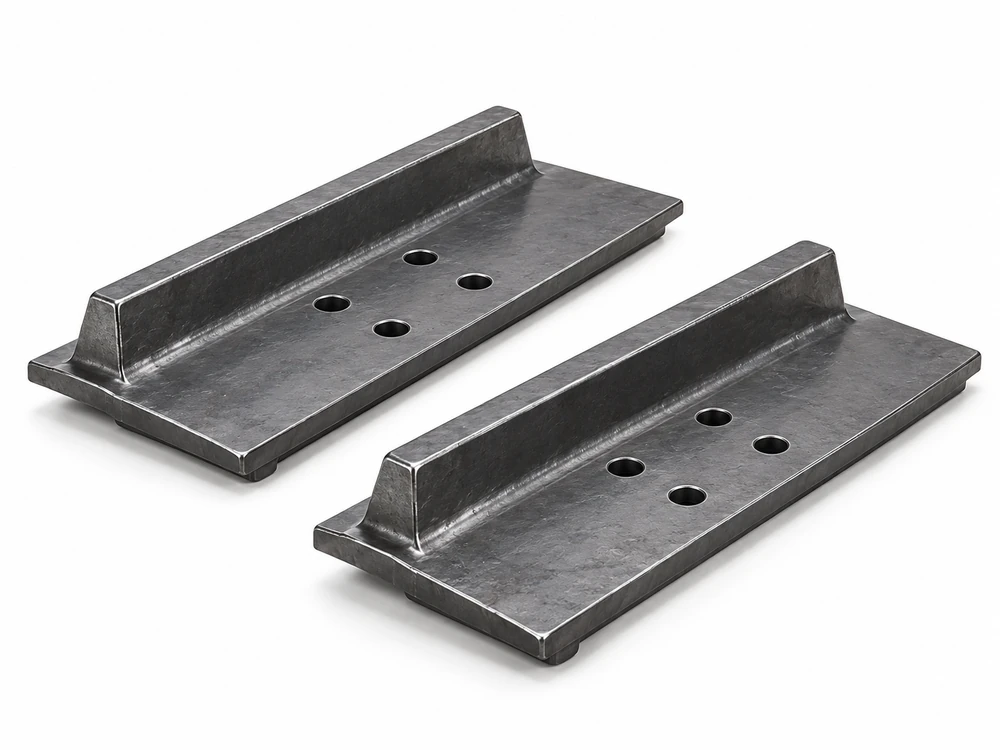
Measure shoe or grouser height at the specified location and record cracks, bent plates, elongated bolt holes, missing hardware, and uneven wear. A wide shoe can appear serviceable while its mounting holes or plate are damaged. Keep each reading tied to the side and component position. A lower average from both sides can hide one track frame that needs parts first.
Do Not Average Away Uneven Wear
Keep left and right readings separate. Side-hill work, repeated turns, different travel patterns, alignment problems, and track tension can make one side wear faster. A component cannot safely be run beyond its own applicable limit simply because the other side has more life remaining. The inspection record should show the worst reading, the affected location, and the parts that will be replaced there.
Compare readings over time when records exist. A single inspection tells you condition today; a sequence of readings with the hour meter shows the wear trend. That trend can help decide whether to order during a planned shutdown, request one component, or prepare a coordinated package. It can also reveal a maintenance or operating issue that would shorten the life of replacement parts.
Turn Measurements Into A Repair Scope
Create an itemized list by side and position. Identify components below the applicable limit, components approaching the limit, and components that will remain in service. Distinguish loose chains from assembled track groups, sprocket segments from complete sprockets, individual rollers from a set, and wheel-only idlers from supported assemblies. Include shoe bolts, segment hardware, master connections, and seals when they are part of the planned repair.
Ask for two options when the inspection leaves a reasonable choice. For example, compare a chain-only repair with shoe transfer against assembled track groups, or compare one roller with the complete lower set. The parts quote should state what is new, transferred, retained, rebuilt, or excluded. This keeps the owner from comparing a complete scope with a low price that covers only one visible component.
Send A Measurement-Based Parts Request
Send the machine plate, full model, serial or PIN, configuration, hour reading, measurement sheet, photographs, installed part numbers, quantities, delivery ZIP code, address type, unloading details, and needed-by date. Say whether the machine is down and whether a technician has already scheduled the repair. If the measurement method or reference chart is uncertain, identify that limitation rather than presenting an unsupported percentage.
Ask the supplier to confirm fitment against the serial number and installed arrangement. Review availability, dispatch timing, freight, packed dimensions, hardware, and the parts that will ship together. A measured wear percentage helps prioritize the repair, but only a complete identification and written scope can support the correct aftermarket replacement quote.
Technical Sources And Next Steps
This guide provides general parts-planning information. Wear limits, tightening values, lifting procedures, and service steps must come from the operator, parts, and service information for the exact machine.